Guest Pass Page
How to use the Guest Pass page in My Properties to manage temporary guest Wi-Fi access (only turned on for 30 minutes, unless otherwise specified with Pavlov). The guest pass page looks like this:
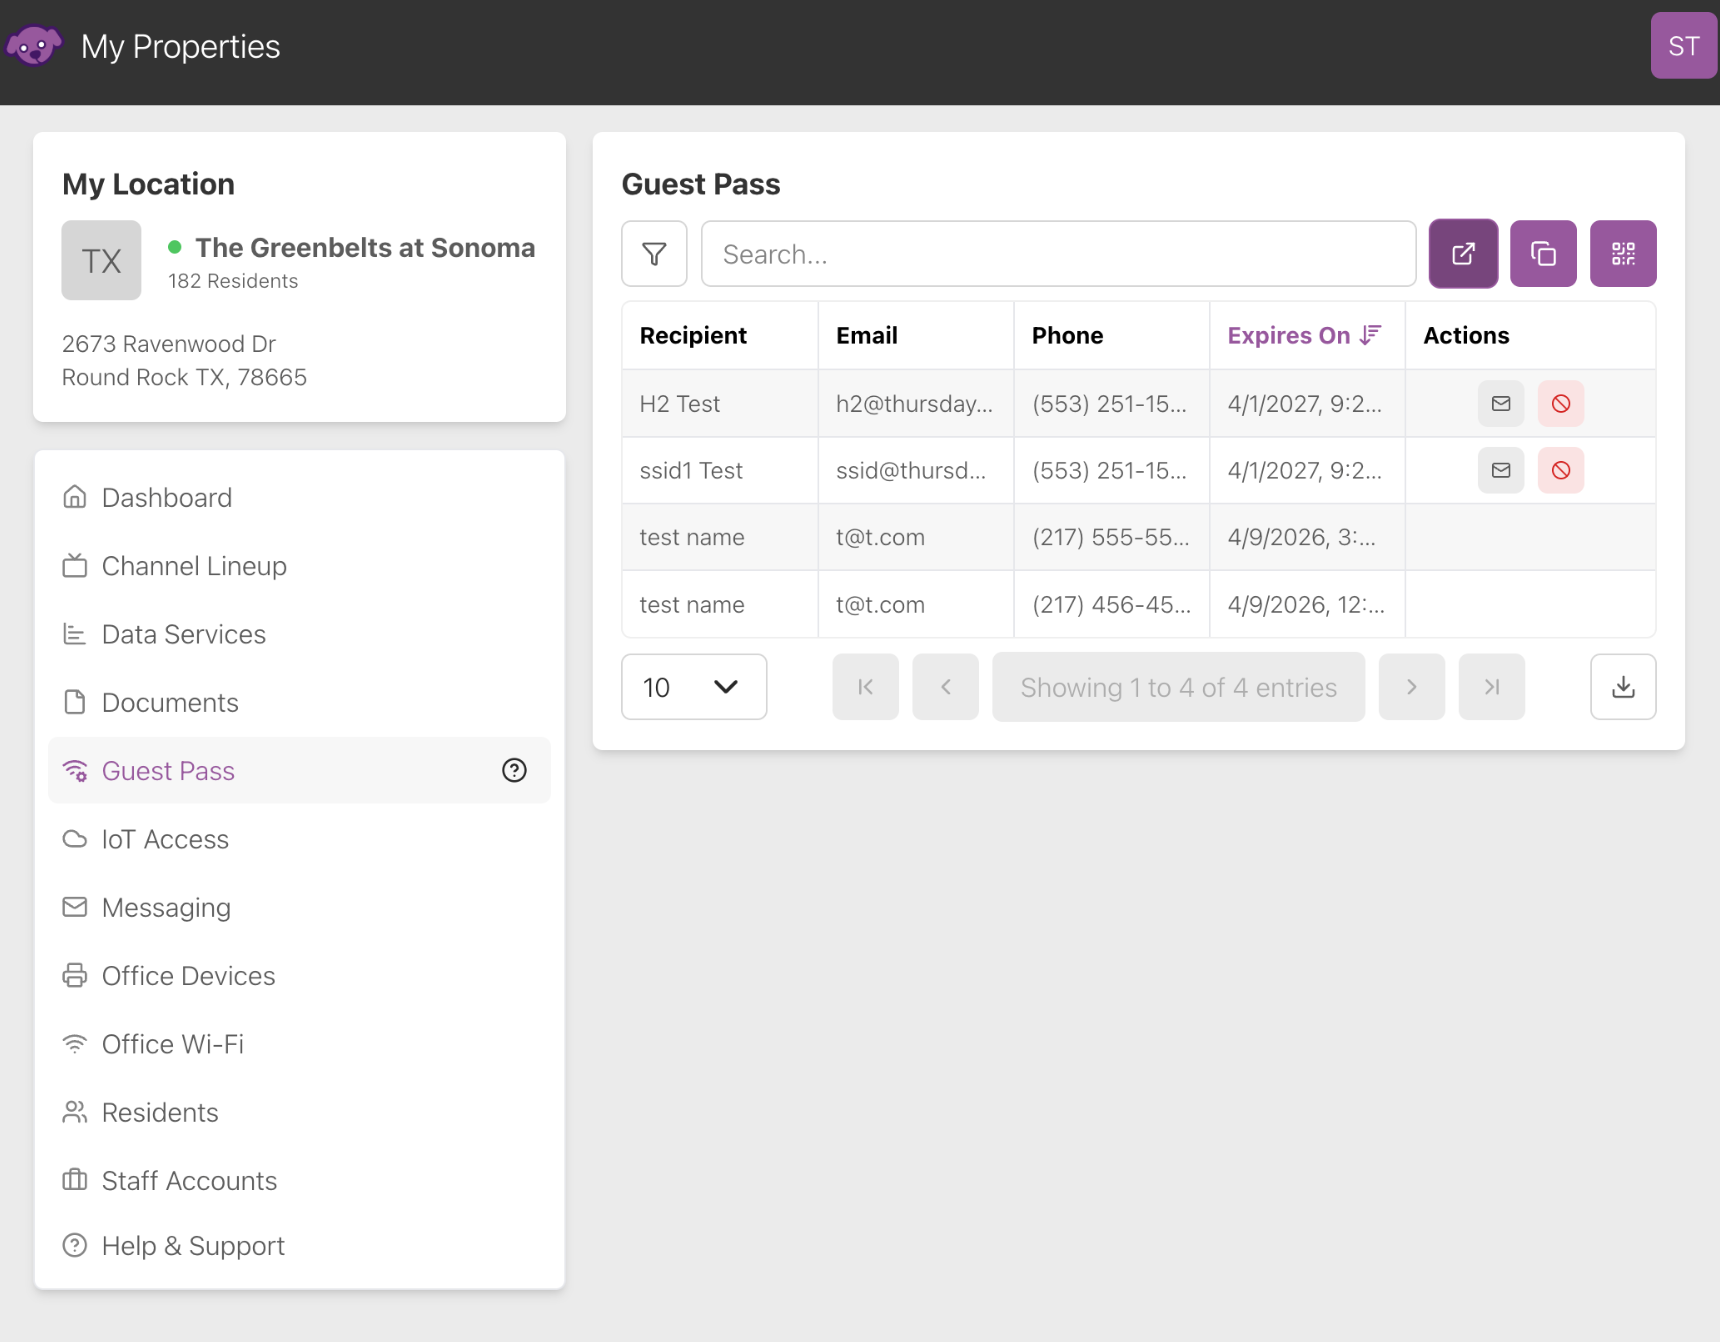
This page displays recipient names, emails, and phone numbers. It also shows when their guest pass expires.
Guest Pass Flow
Guest users scan a QR code (or click a link) to open the guest registration webpage. To make sure visitors know where to go to register, you should post the QR code on the property or otherwise distribute the QR code.
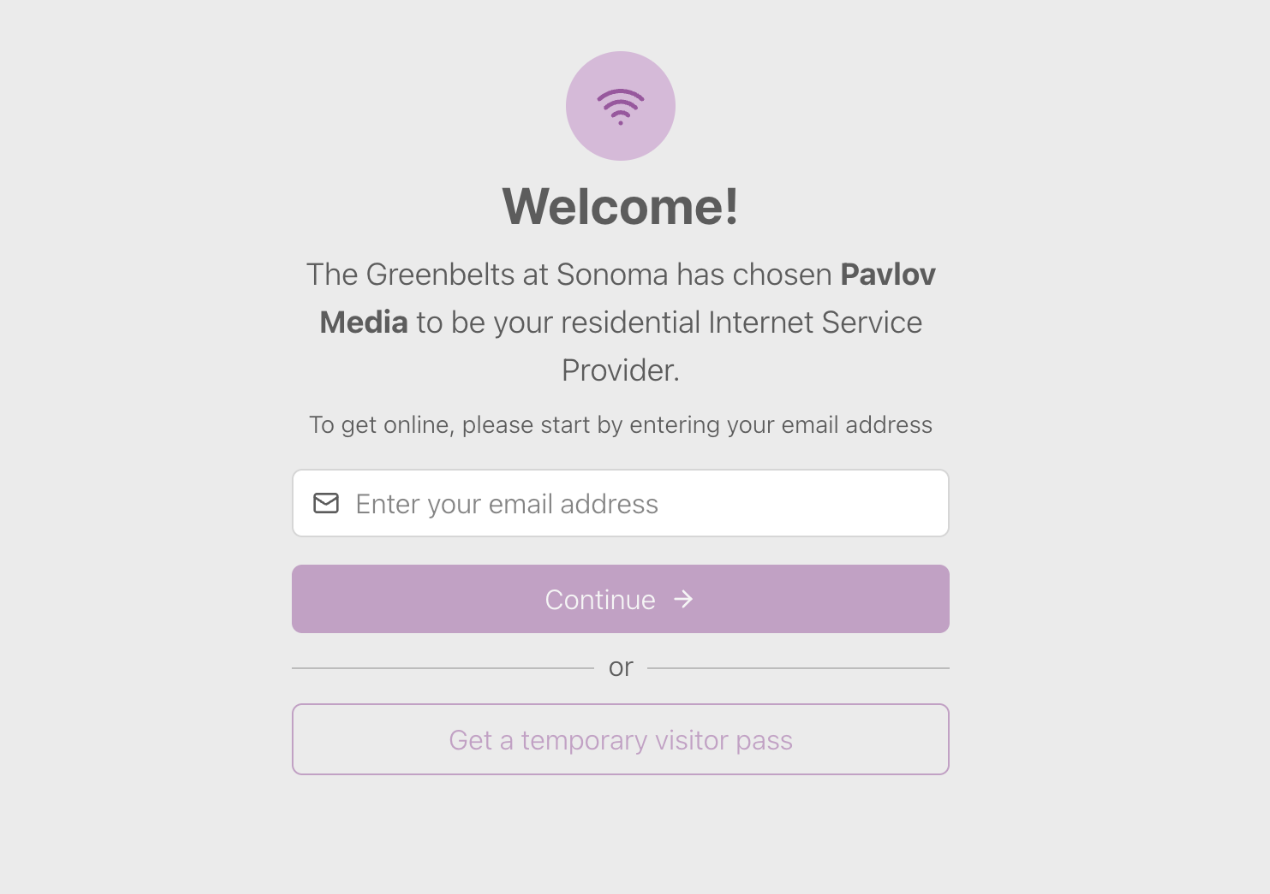
Visitors should enter their email and click Get a temporary visitor pass on the registration page that the QR code opens to get a guest pass.
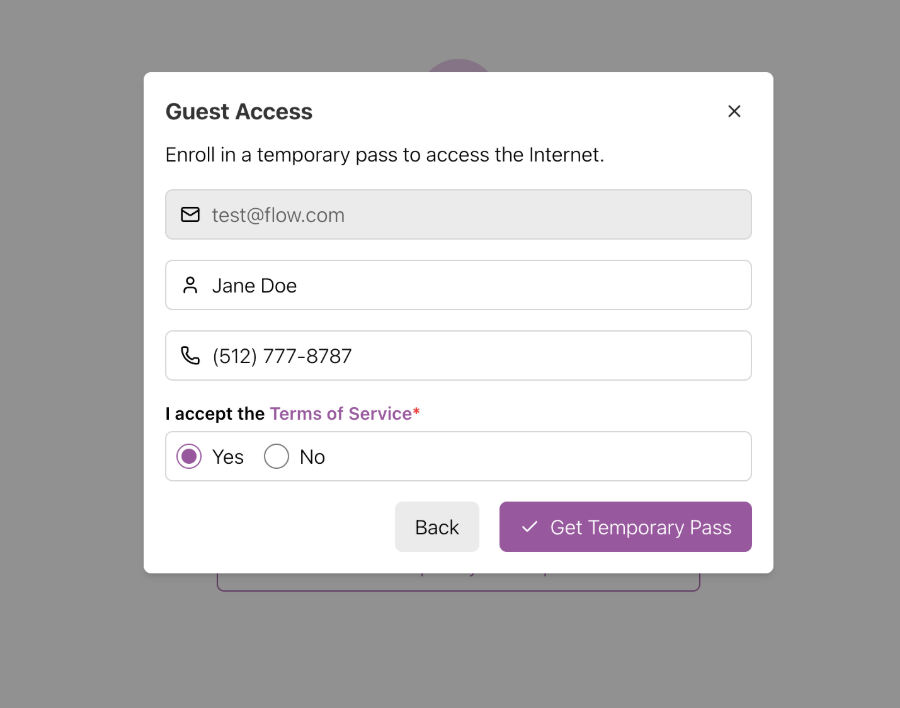
On the modal that appears, they should type in their name and phone number and accept the terms of service. Once they submit this information, they are texted their temporary guest pass.
View QR Code
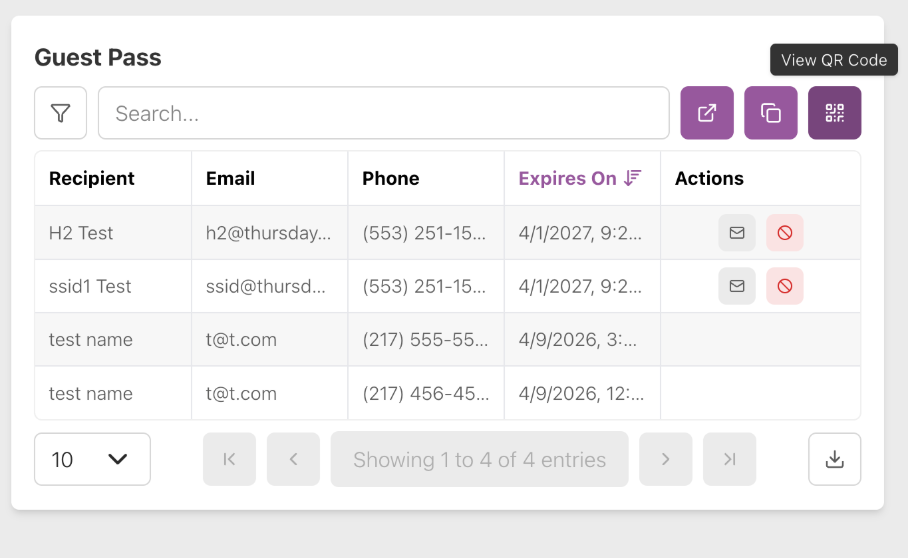
Click View QR Code to view the QR code that visitors scan to launch registration.
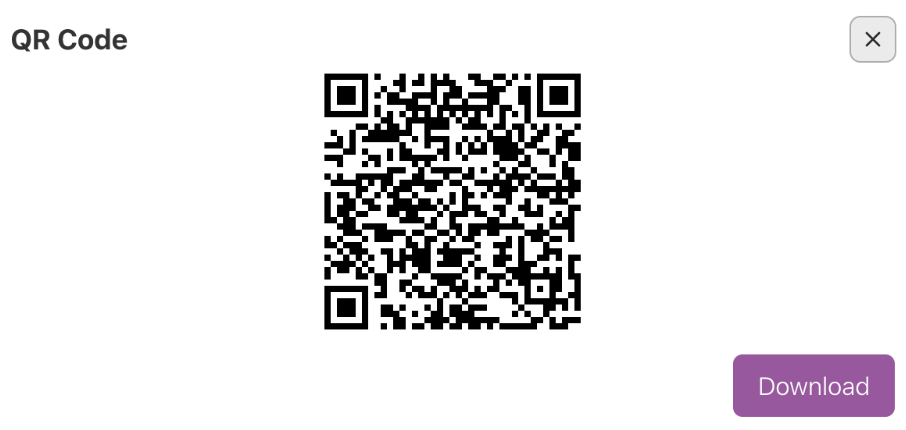
Click Download to download the QR code to your device. Now you can print and distribute it to visitors.
Copy Registration URL
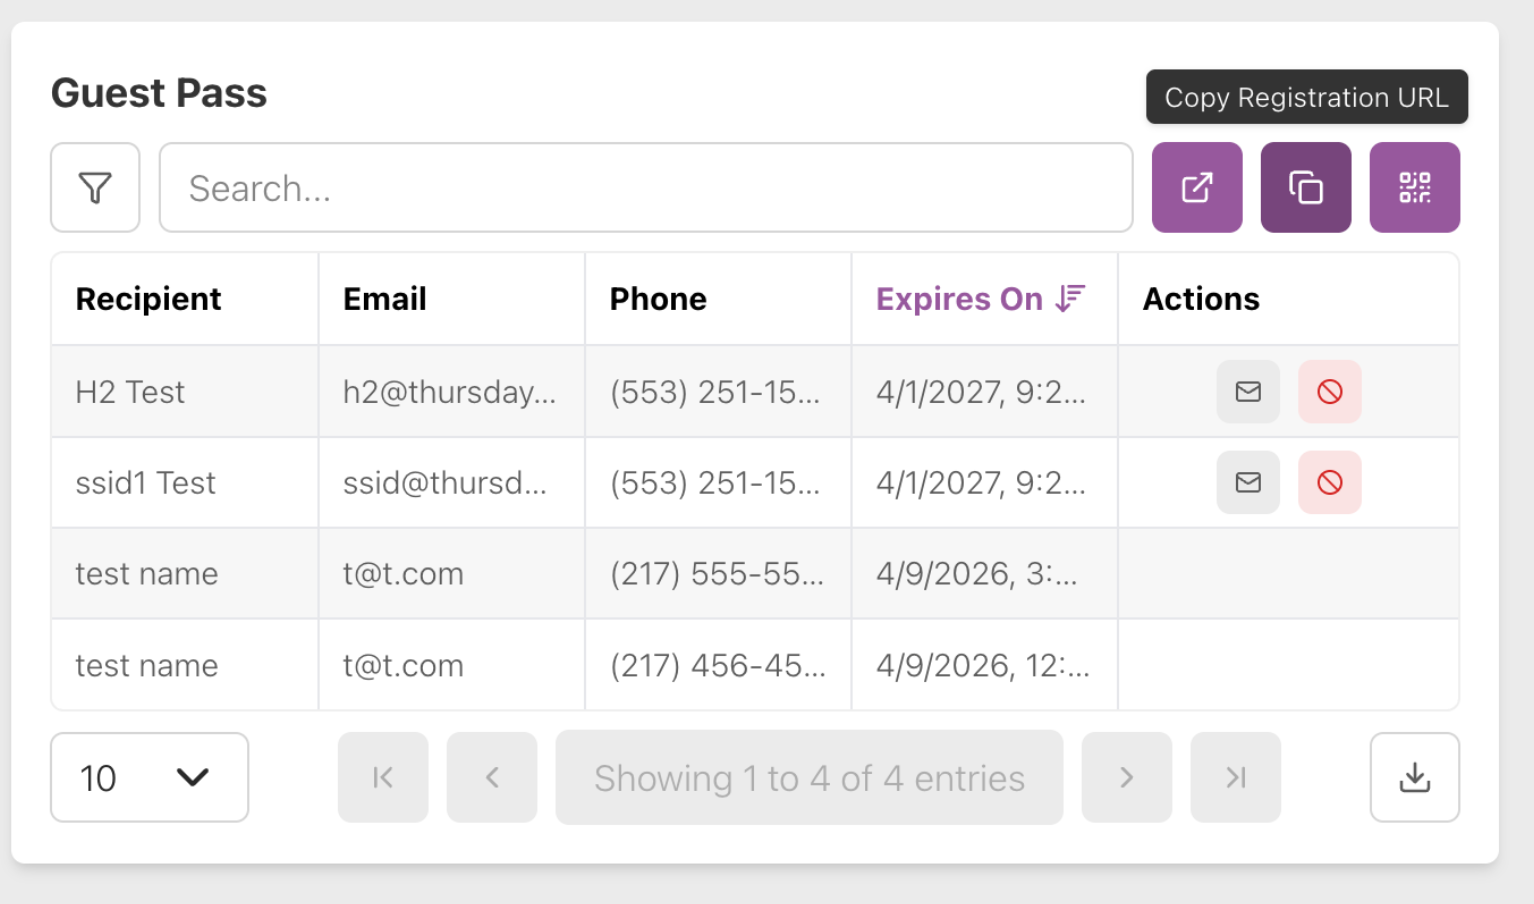
Click Copy Registration URL to copy the link that visitors open to launch registration. This is the same as the link that scanning the QR code opens. Instead of giving guests the QR code, you can also provide this link to visitors.
Launch Registration
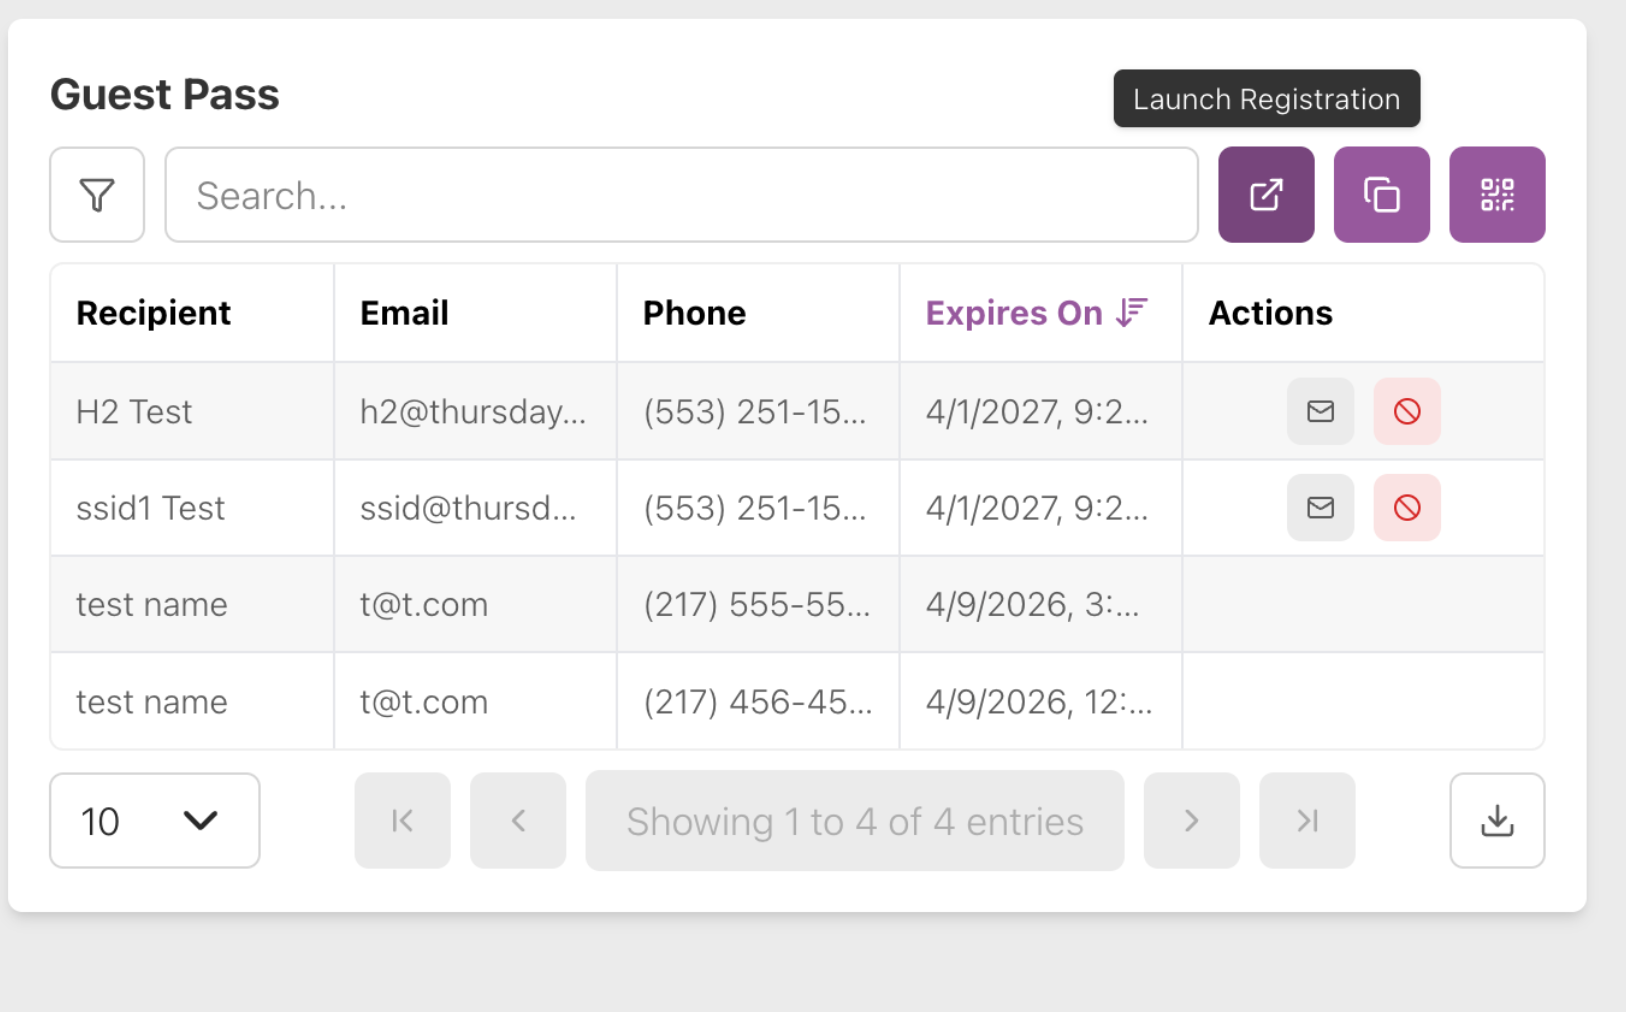
Click Launch Registration to open the registration site.
Resend Guest Pass Message

Click Resend Guest Pass Message in the Actions menu of the Guest Pass table to send the guest pass SMS to the recipient again.
Cancel Guest Pass
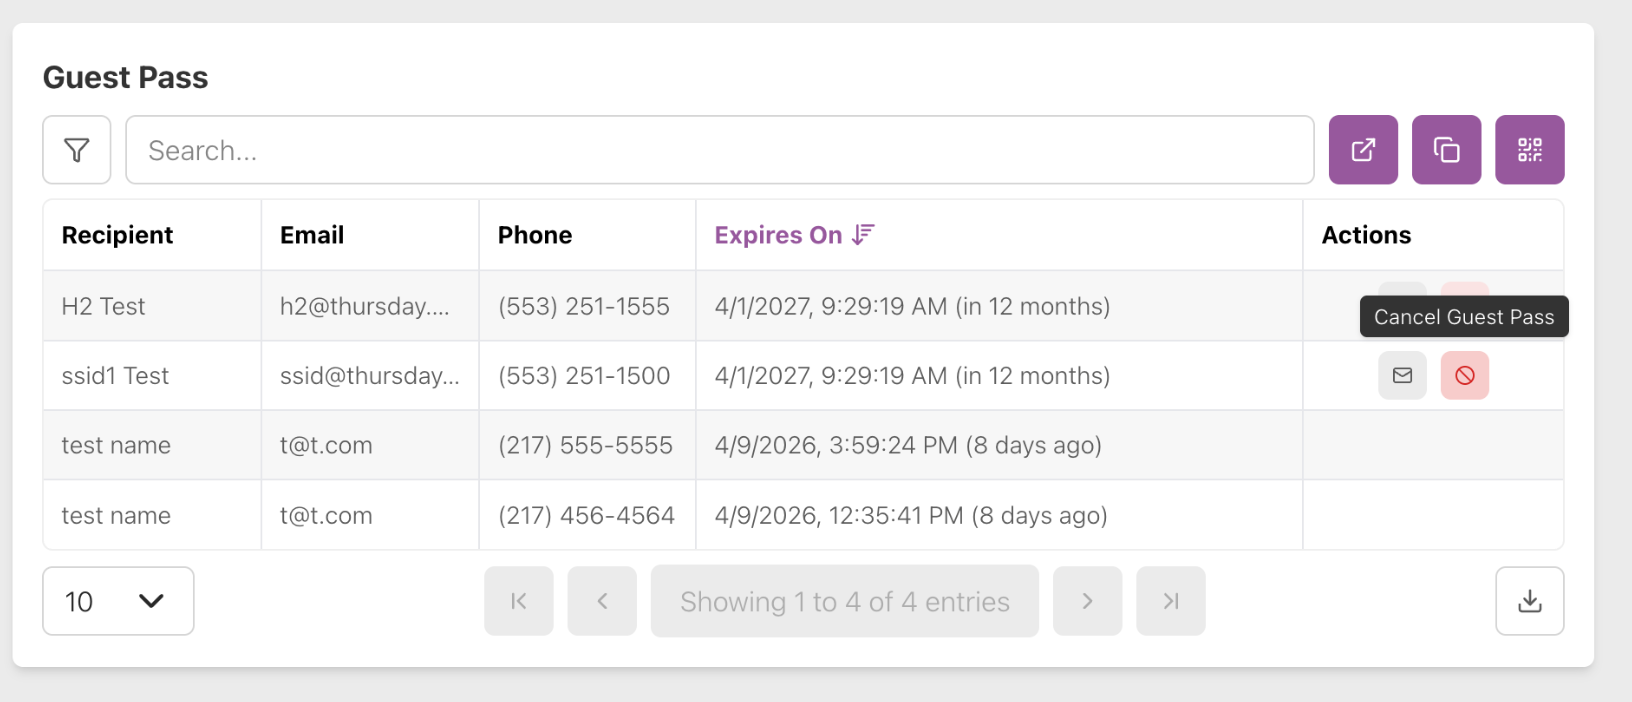
Click Cancel Guest Pass in the Actions menu of the Guest Pass table to cancel the recipient’s guest pass access. The visitor is no longer able to access the Wi-Fi with that password.
Download Guest Pass Information as a CSV
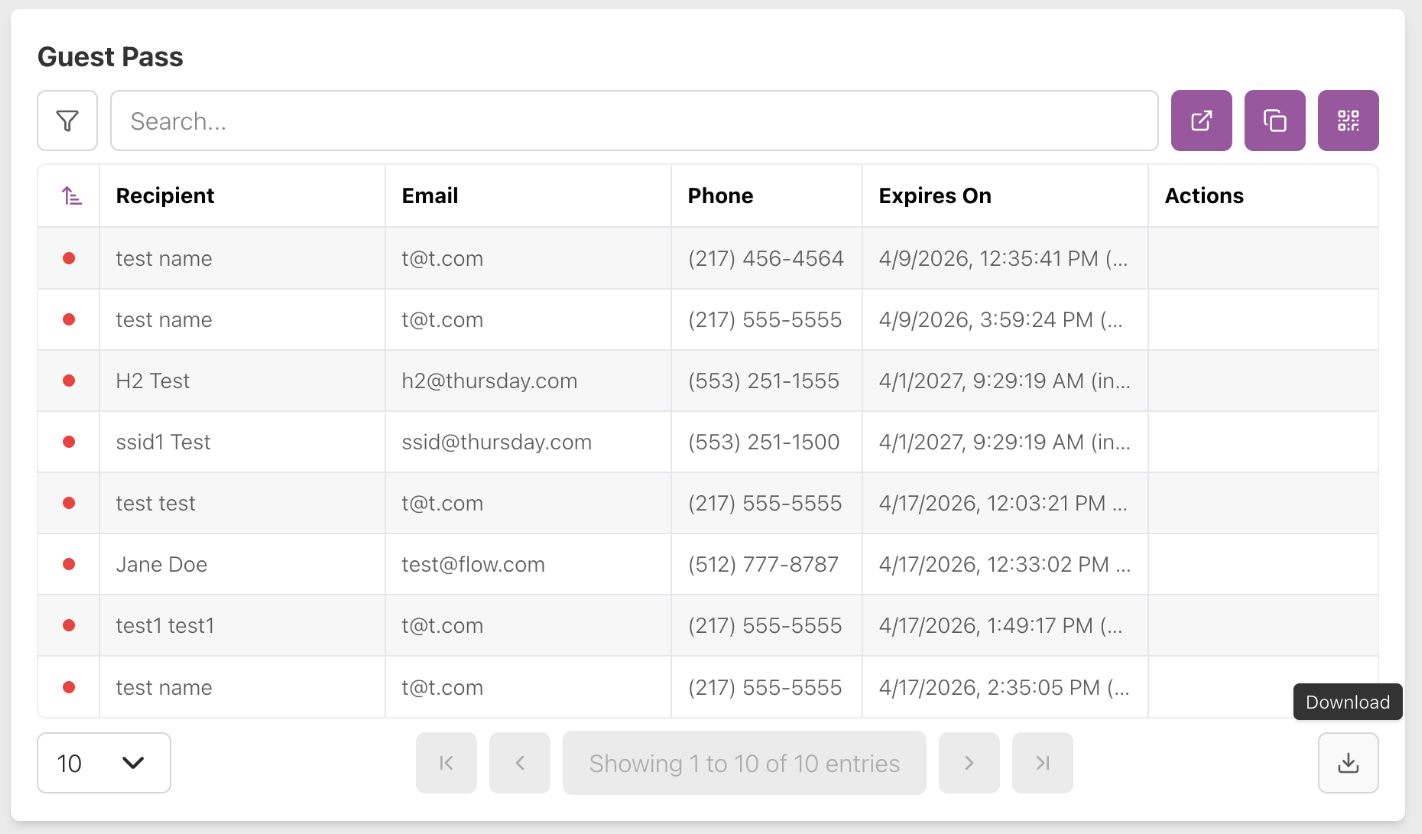
Click the Download button in the bottom right corner of the Guest Pass table to download a CSV with guest pass information.